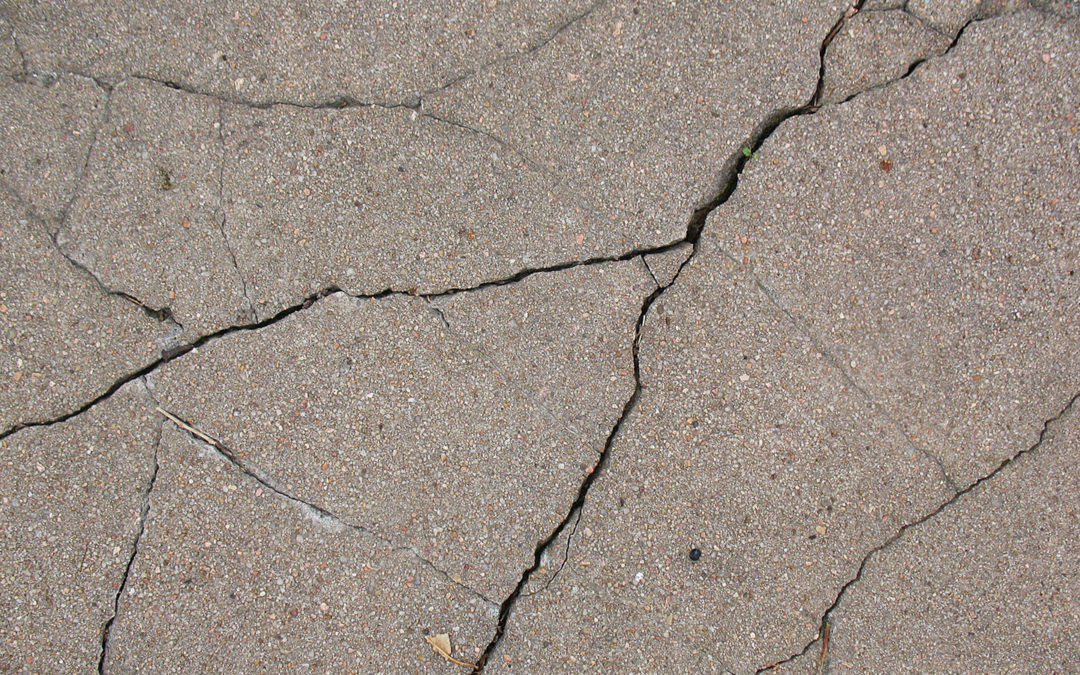
Best Practices For Plastic Shrinkage Cracking
What is Plastic Shrinkage Cracking?
This phenomenon happens when the concrete is still plastic, soon after pouring. They’re an all too common type of shrinkage cracks in concrete slabs, generally emerging parallel to one another. The cracks are usually shallow in depth and rarely cross the slab perimeter.
What Causes Plastic Shrinkage Cracks?
Though unattractive, concrete plastic shrinkage cracks seldom affect the durability and/or strength of floors or pavement. But it’s important to understand the key causes to minimize future development.
Rapid Surface Moisture Evaporation
This is the most common cause of plastic shrinkage cracking. It occurs when the surface moisture evaporates at a faster rate than the bleed water can rise to the surface for replacement. Generally, a meniscus forms between the aggregate and cement particles when the water recedes underneath the concrete surface. This causes the development of a tensile force between the surface layers. Once the surface begins to set and develops an adequate tensile strength, cracking won’t occur. But if rapid surface evaporation occurs when the concrete is still plastic, cracks forms as the concrete continues to set.
Factors behind rapid surface evaporation include:
- Low relative humidity;
- Wind speed higher than 5 MPH; and/or
- High ambient and/or concrete temperatures.
Using a synthetic fiber reinforcement in the concrete design mixture may help fragile concrete resist tension between the surface layers.
Reduced Bleed Rate Or Amount Of Bleed Water
Any mixture with a natural reduced bleeding rate or amount of bleed water is prone to this type of cracking, even when low evaporation rates are present. Common factors include:
- Entrained air;
- Thinner sections;
- High fines content;
- Reduced water content;
- High concrete temperature; and
- High cementitious materials content.
Delayed Setting
This situation can arise from several factors, including at least one of these:
- Retarders;
- Certain water reducers;
- High water content;
- Cool weather and/or subgrades;
- Reduced cement content; and
- Supplementary cementing materials.
How Can I Minimize The Amount Of Shrinking?
The best way is to recognize conditions and factors, such as weather, that may affect the concrete before placement begins. Though a common technique is to modify the composition of a mixture to affect the bleed characteristics, this is largely inconsistent in effectiveness.
Temporary Wind Breaks
These structures diminish the wind speed flowing across the fresh surface. They sometimes provide temperature control in the form of shading to the area. Installation of wind breaks is generally recommended for late afternoon or early evening for unfavorable conditions. For hot weather, setting up any breaks should be done in the early morning for better control over the concrete surface temperatures.
Fog Sprays
Adding extra water with a fog spray is generally used during dry and hot weather conditions. It’s applied by releasing a fine mist through the air upwind of the surface. This method decreases the evaporation rate from the concrete and is recommended for use until applying adequate curing materials.
Dampen The Subgrade
This action is used when surface placement is on dry, absorptive subgrades during hot and dry weather. The subgrade should be dampened but not resulting in freestanding water. Moistening the formwork and reinforcement is also highly recommended.
Carefully Place Vapor Retarders
Without careful placement, using vapor retarders under a concrete slab located on a grade significantly increases the chance of shrinkage cracking. Instead, if the use is necessary to proper curing, a 3-inch to 4-inch layer of lightly dampened, compactible and trimmable granular fill should be used as the covering. A common example is crusher-run material.
Place & Finish Concrete Promptly
Having the appropriate equipment, employees, and supplies to place and finish any concrete surface in a timely manner is crucial. If delays are present, use moisture-retaining coverings on the surface between steps.
Start Curing Quickly
To expedite the curing process, either cover the area with wet burlap for at least three days or apply a sprayable liquid membrane curing compound.


